Watch the video
Important notes
- The tagDiv Composer will automatically be activated when updating to Newspaper 8 or installing the theme for the first time.
- Please do not use both the tagDiv Composer and Visual Composer simultaneously on the same page.
- The tagDiv Composer was built for pages exclusively.
- Please do not edit a page created with visual composer using the tagDiv Composer
- To transition between the 2 builders please use this guide.
Our custom page builder called the tagDiv Composer is a custom made drag and drop builder required for creating pages when using the our theme.
This builder is a powerful tool specially crafted to help you style your pages using custom made content blocks and grids. The tagDiv Composer can only be used on pages and only on the front-end of your website.
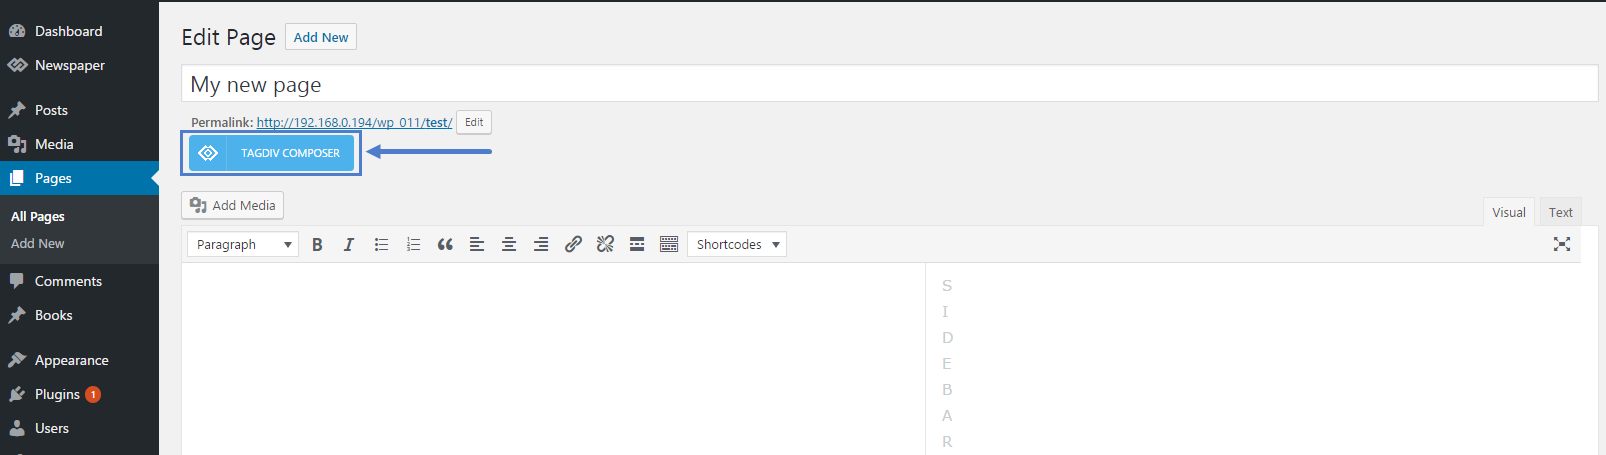
You can access the tagDiv Composer when editing a page by pressing the “tagDiv Composer” button:
The theme will immediately switch into front-end edit mode:
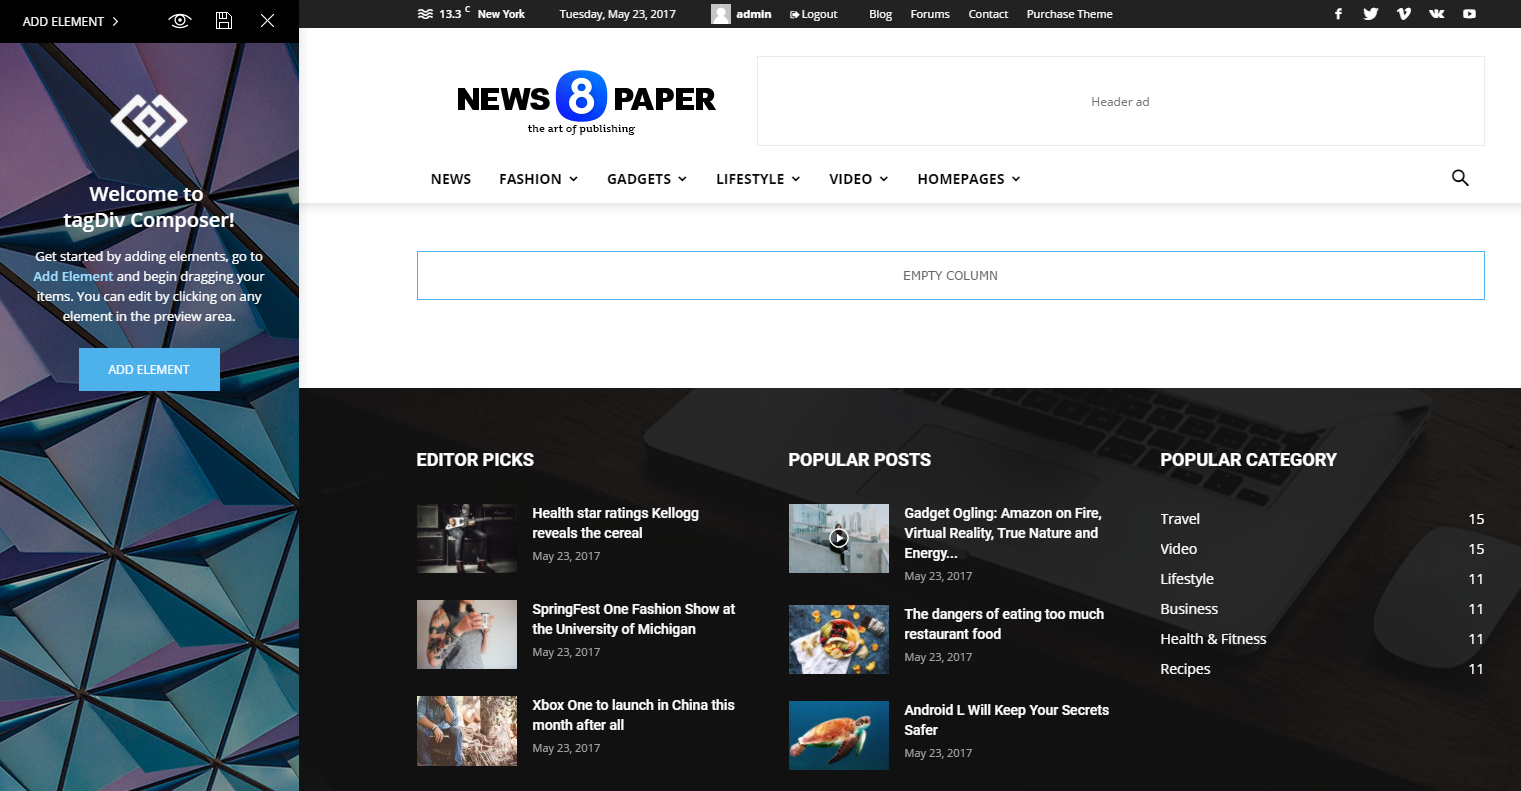
You will see a front-end preview of your page and the tagDiv Composer on the left of the screen. In this welcome screen, you can see two additional options apart from the page builder functionality that let you choose the page template and the header style you want.
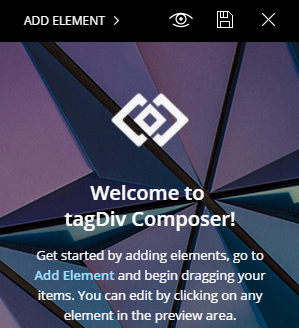
The builder has a top control section that offers the following options: Add Element, View Page, Save Changes and the Close button:
Let’s start with the Add Element button. This is the place to start customizing your page and adding content to it. Press the button, and the dropdown list will appear with all of the elements you can add to the homepage.
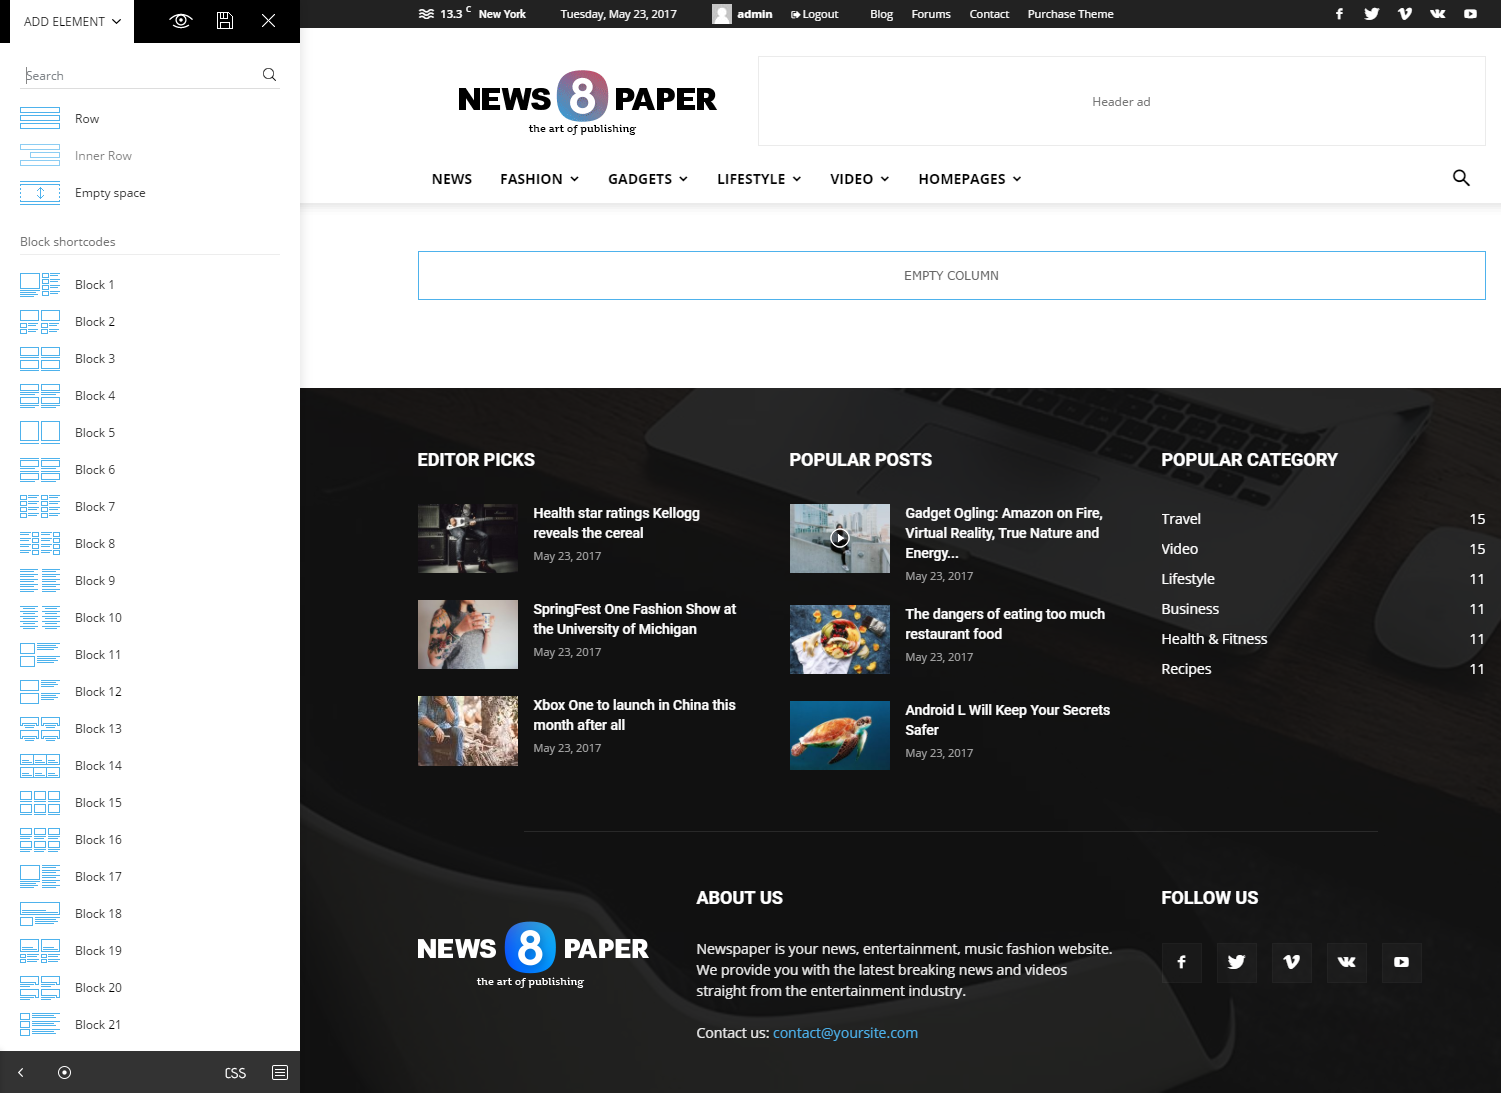
You can drag and drop each and every one of these elements to create the layout you desire. However, you must first start with a row as the Composer works with rows and columns. You can add a row simply by dragging the row icon in the empty space on the page.
Once drag into the page, if you click the element, a settings panel will open on the left side of the screen. This functionality applies to every content or structural element, not just rows.
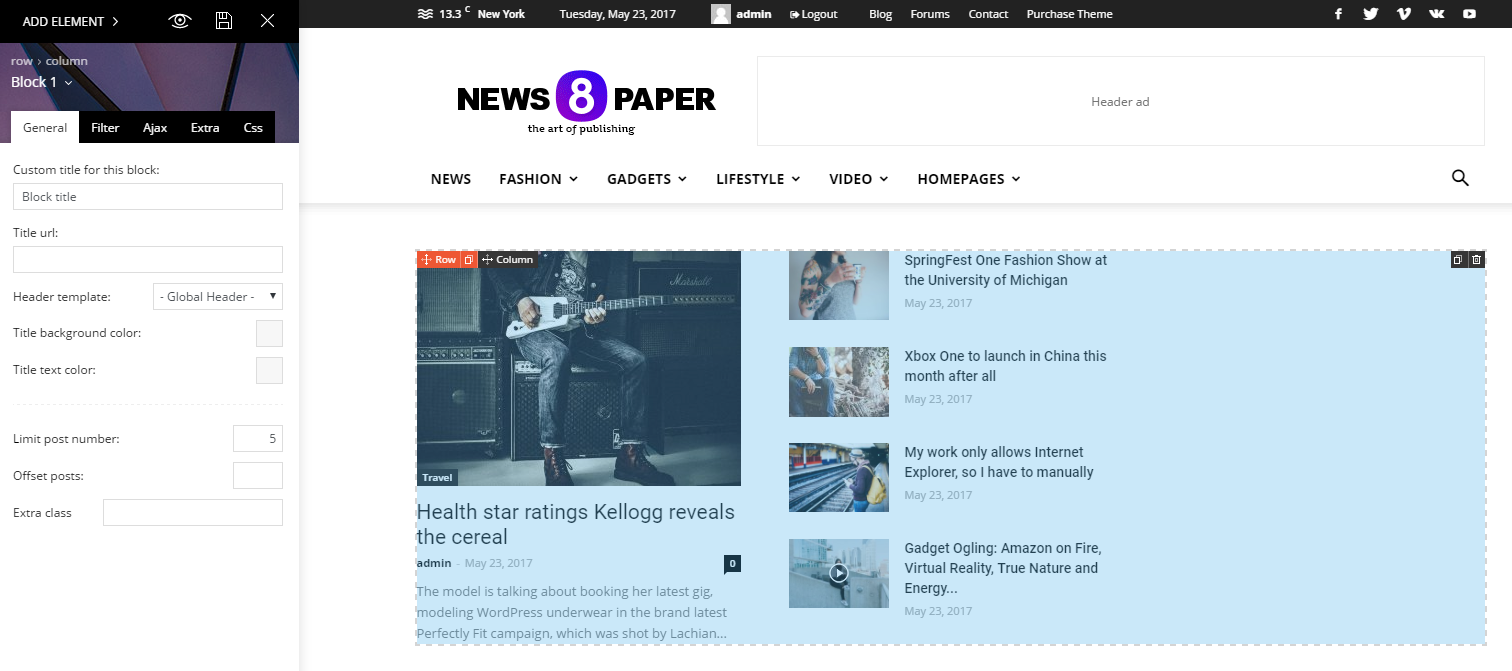
Rows have two special section designed to help you create layouts. After you dropped the element on the page, in the top left corner, you can access the row settings or column configuration:
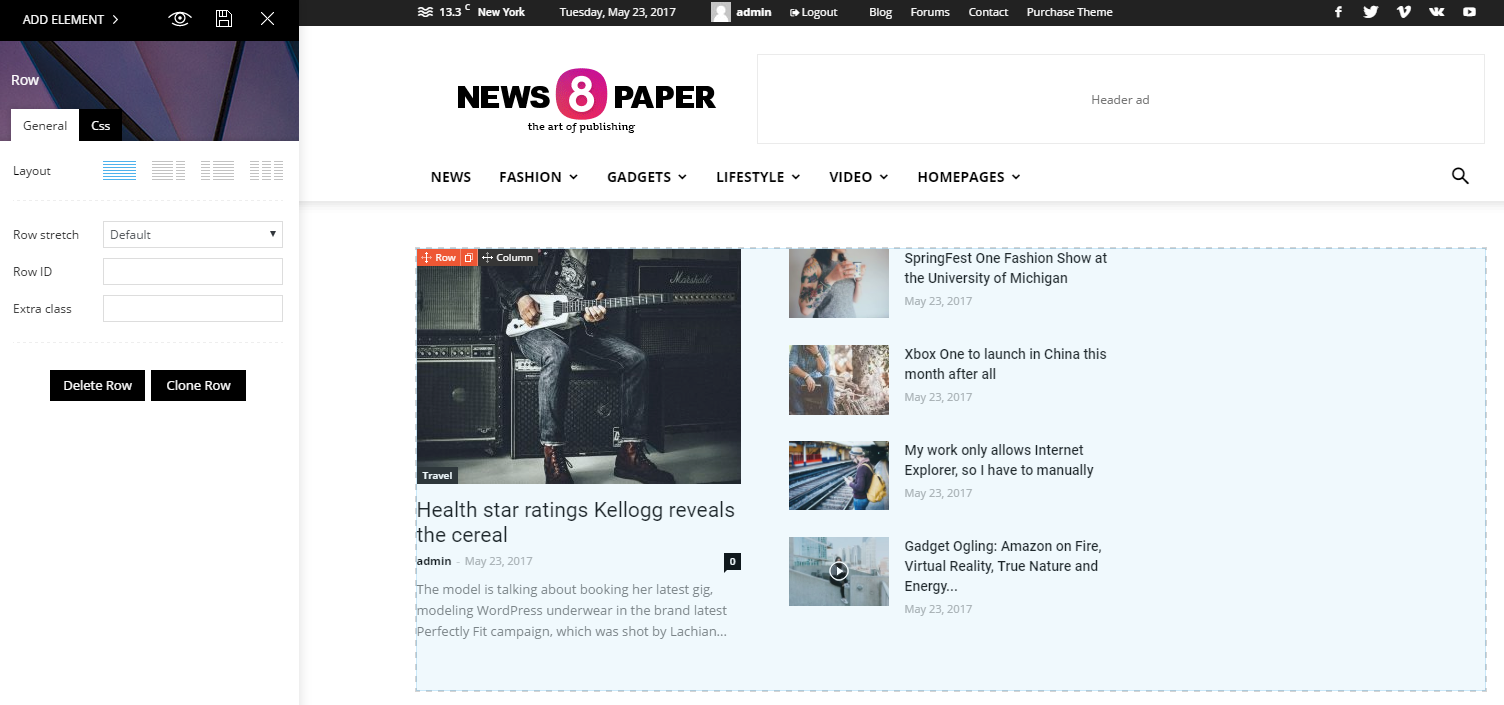
The row settings will allow you to select the layout of the row meaning you can have a set number of columns in different styles. Row settings also allow you to add a row ID and an extra CSS class if you want to add custom CSS to affect just the particular row.
There are only three columns available in our theme, so there are four variations to splitting the row.
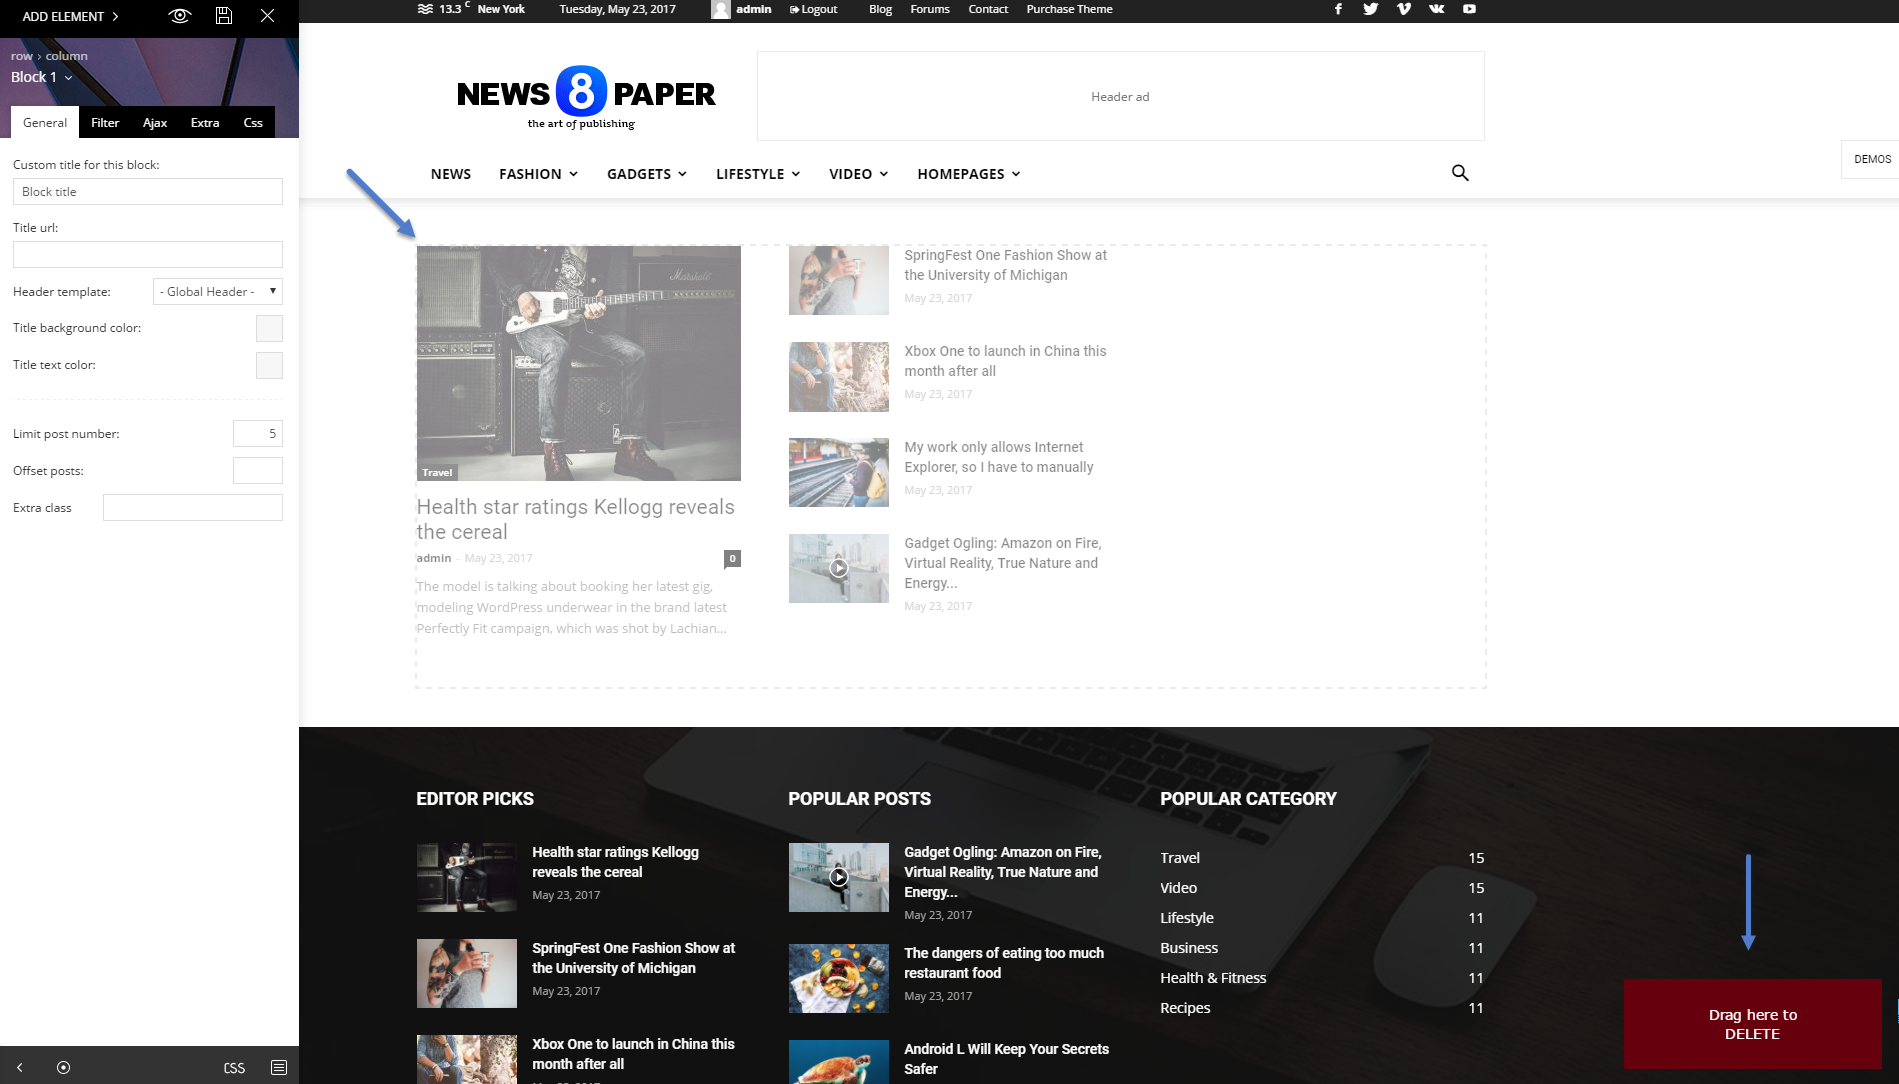
If you want to delete a row you can grab it from the top left “Row” button and drag it to the bottom right of the screen in the “Drag here to DELETE” box.
You can add the different blocks either directly inside a row or inside an inner row, if you want to create a more complex structure.
Each block has its own settings presented in the Block Settings Guide
Once a block is added to the row/column of your choice, it will be displayed live so you can see the actual content live. Changing its settings also changes the live representation of the page to make it easier to see what every setting does.
Deleting an element is similar to removing a row. Simply drag the element to the bottom right of the screen or just hit the delete icon found on the top right of the block element.
The post tagDiv Composer tutorial appeared first on tagDiv support.