Sometimes you have to set multiple categories for a post, but in the website’s local hierarchy one of these categories has to be more important than the others. There’s no WordPress theme that can decide by itself which is the right one. You have to make this decision, and choose the one that is most relevant.
This is a good decision to make, because on breadcrumbs and on the page modules you can display only one category tag.
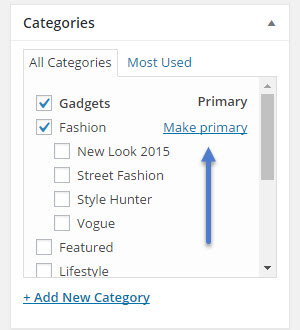
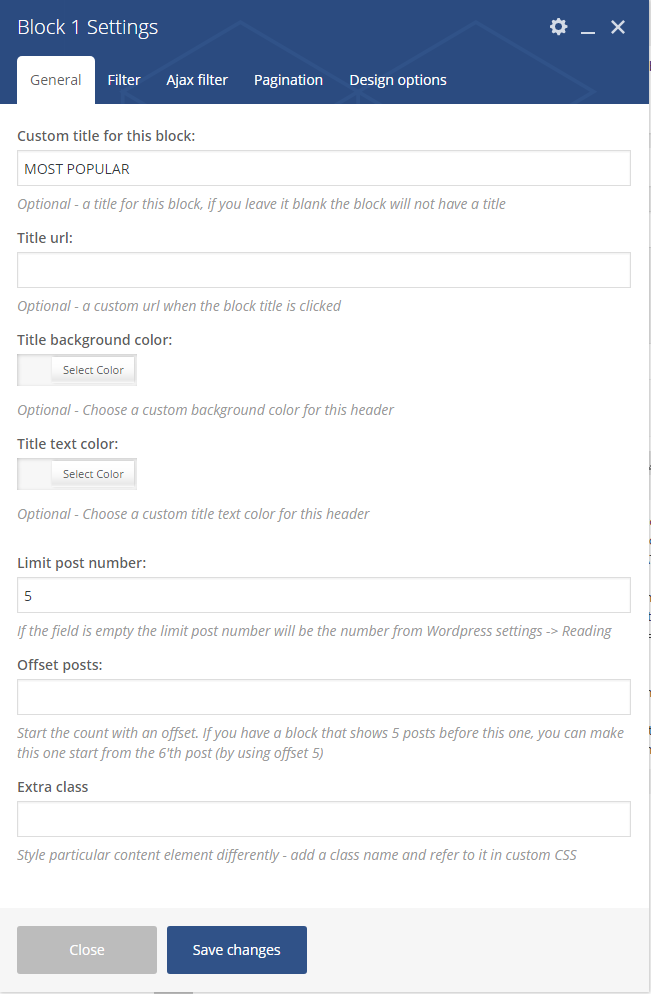
To set a ‘Primary Category’ to posts you need to select the option from post settings:

You should know that, if the main category is not set, the theme automatically displays the first one in alphabetical order sorted by name.
The following list shows elements that are affected by the primary category option:
- Breadcrumb
The breadcrumbs are a very useful navigation tool, they provide an easy way for the user to smoothly navigate on your site, from post to category, to the next post, or from child page, to parent page etc. They are also useful for the search engines, because they allow a clear view of your site’s structure. The theme comes with custom breadcrumbs which appear at the top of the content. The ‘Primary Category’ will change the breadcrumb structure. In the following image you can see how they are displayed on a post page. Read more here .

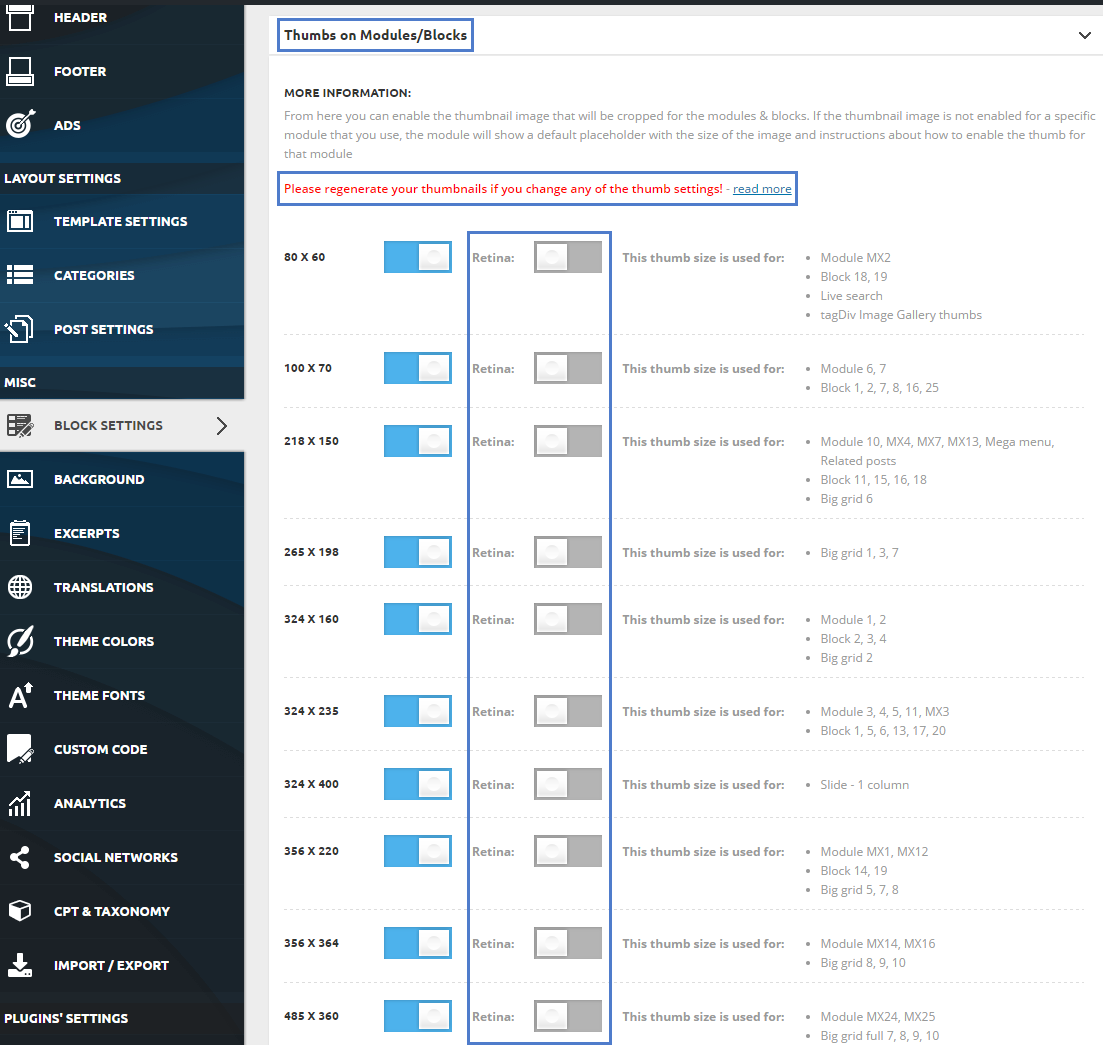
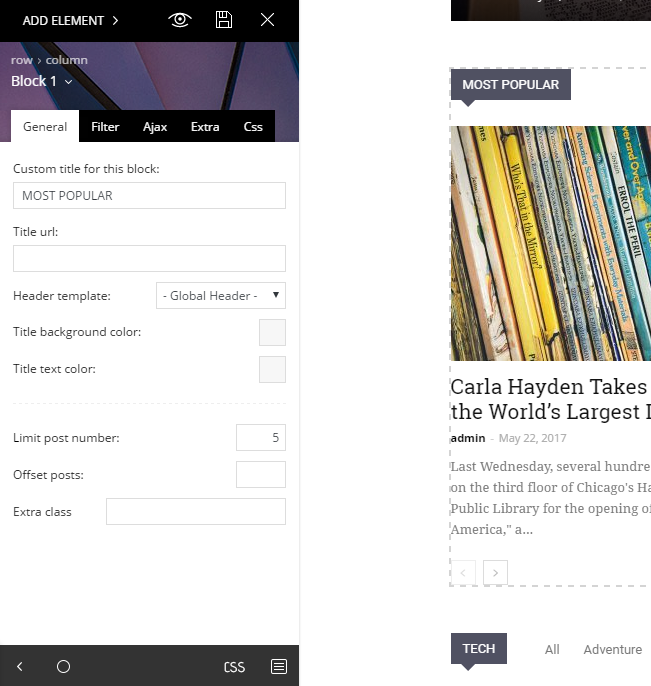
- Tag on modules
The theme uses modules and blocks to display posts and each module will display the post main category as a tag. If you choose a ‘Primary Category’ for the post, the tag will display it. You can read more on this subject here.

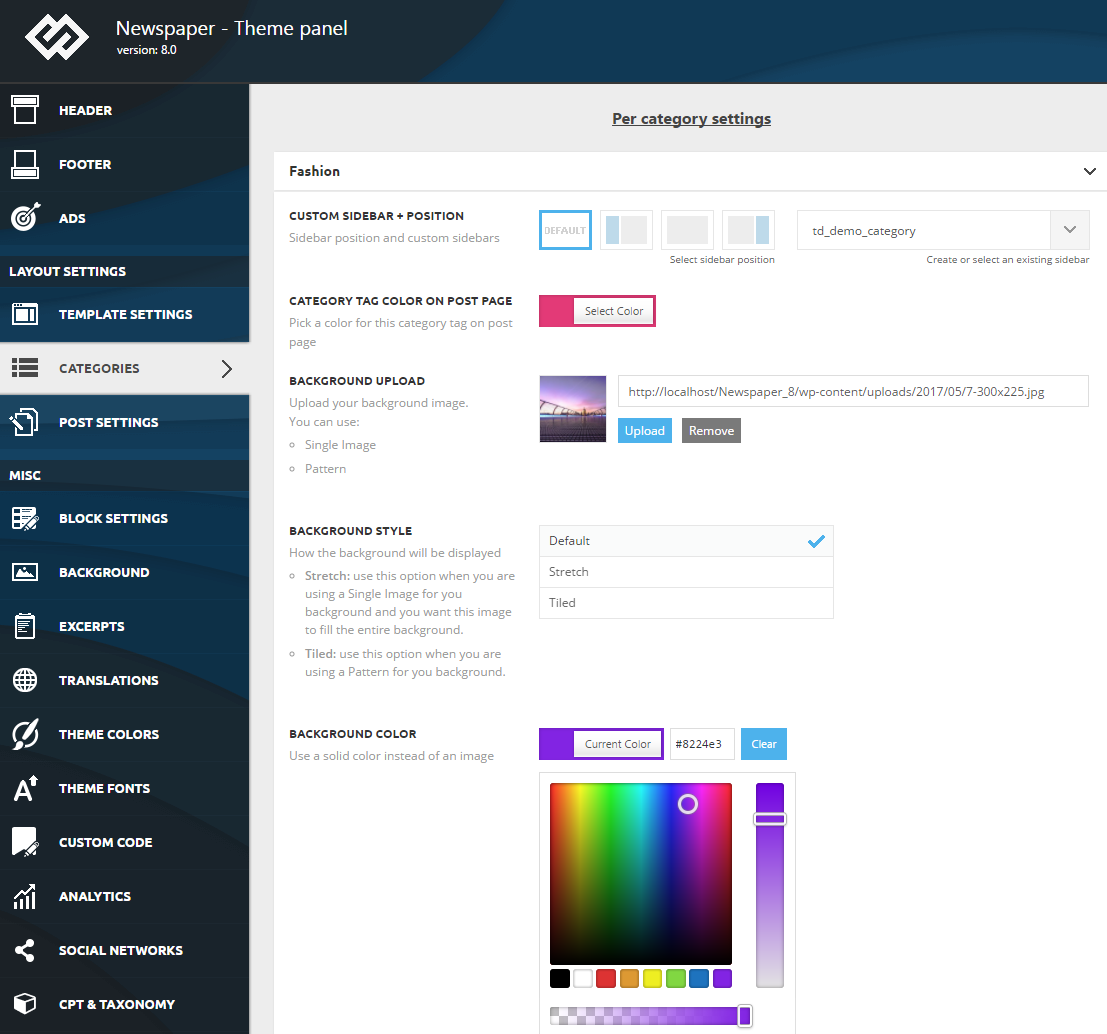
- Article background (color or image)
The article background, color or image, is tightly connected with this option. Each post inherits settings like sidebar or background image/color from its main category. Did it happen to you before and you didn’t know why?  Well, now you know! Read more here.

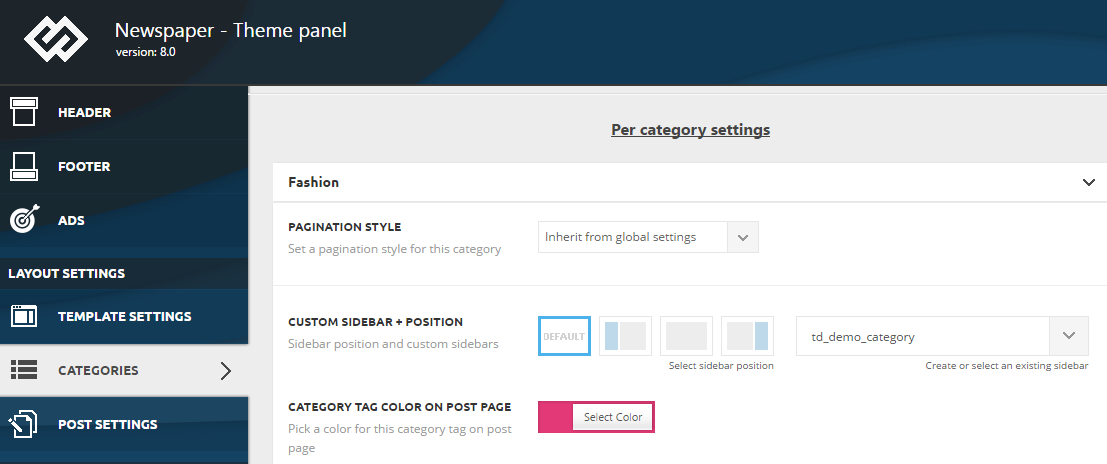
- Article sidebar
Just like the background is influenced by this option, the sidebar will be modified by the ‘Primary Category’ too. If you set the post to display a sidebar ‘From panel’ (the one already assigned to that category), then the theme will display the sidebar added to the ‘Primary Category’ in the ‘per-category’ settings. If you do not want this feature to apply, just select a preferred sidebar from ‘Post Settings’ section.

Please note that WordPress SEO by Yoast plugin also includes a ‘Primary Category’ option which is different from the one our theme provides. This feature will only add the ‘Primary Category’ name in the permalink structure and will not affect category tags, breadcrumbs or post settings.
The post Primary Category: Build a clear hierarchy for your website appeared first on tagDiv support.


 Well, now you know! Read more